Setting up multi-agent live chat requires defined ownership rules, controlled workload limits, structured transfers, automation support, and performance monitoring.
Without structure, adding more agents increases confusion. Chats get duplicated. Handoffs fail. Response times rise. The steps below explain how to build a controlled system that scales without losing coordination.
Step 1: Pick your chat tools
Choose a platform built for multi-agent coordination, not just messaging. Your tool selection should align with the operational setup requirements needed to support routing, workload limits, and multi-agent control from day one. It must support chat concurrency limits, routing logic, internal notes, supervisor oversight, transfer tracking, and full conversation history.
Avoid tools that only offer basic live chat without queue visibility or agent workload control.
What to do:
-
Verify the platform allows setting max concurrent chats per agent.
-
Confirm collision detection prevents two agents from replying at once.
-
Ensure transcripts auto-save to customer profiles.
-
Check supervisor dashboards show queue status in real time.
What to check:
-
Can you see idle chats instantly?
-
Does the system reassign chats if an agent disconnects?
-
Does chat history remain visible during transfers?
Step 2: Plan roles and limits
Before routing chats, define ownership. Assign departments clearly. Sales should not compete with support for the same queue unless designed intentionally.
Set workload thresholds before launch.
What to do:
-
Define primary and secondary owners for each inquiry type.
-
Set concurrency limits per team based on complexity.
-
Establish overflow ownership for peak hours.
Recommended baseline:
-
3-4 concurrent chats for complex support
-
4-5 for structured sales conversations
-
2-3 for highly technical cases
What to check:
-
Are agents exceeding safe chat limits?
-
Are certain teams consistently overloaded?
-
Is there a clear escalation path for stuck conversations?
Step 3: Build the chat widget and channels
Channel deployment directly affects workload balance. Poor placement increases unnecessary volume and reduces response control. Do not activate chat everywhere on day one.
What to do:
-
Place chat first on high-intent pages such as pricing, checkout, onboarding, and product detail pages.
-
Delay proactive popups on blog or low-intent traffic pages.
-
Activate additional channels only after the core website chat is stable.
-
Clearly define service hours inside the widget.
Operational guidance:
If peak traffic regularly exceeds total agent concurrency by more than 15-20%, do not expand channels. Stabilize response time before increasing exposure.
What to check:
-
Are proactive triggers increasing abandonment?
-
Are certain pages generating low-quality chats?
-
Is one channel creating queue imbalance?
-
Are off-hour inquiries captured correctly?
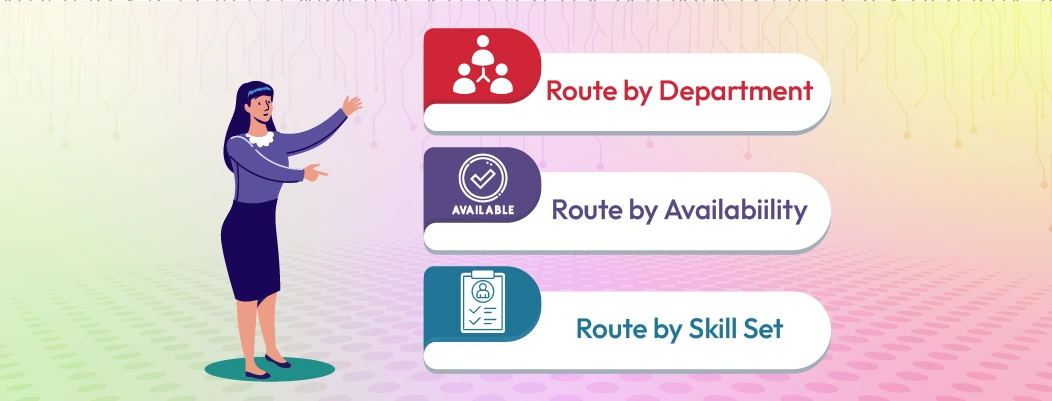
Step 4: Make routing rules
Routing determines how efficiently conversations move through your team. Poor routing increases transfers, delays responses, and overloads specific agents.
What to do:
-
Route first by department (sales, support, billing).
-
Then route by skill or specialization.
-
Add priority tags for urgent or high-value users.
-
Create automatic reassignment if a chat sits unanswered beyond a set time.
-
Define escalation rules for complex cases.
Operational guidance:
If more than 15-20% of chats require multiple transfers, routing logic needs adjustment. High transfer rates signal poor initial classification.
What to check:
Step 5: Add a bot for first contact
Automation should reduce repetitive workload, not delay real conversations. A bot must filter, not replace.
What to do:
-
Collect essential details only (name, email, issue category).
-
Limit pre-qualification to 2–4 short questions.
-
Provide an immediate option to speak with an agent.
-
Route based on the collected category.
Operational guidance:
If users abandon during bot interaction or resolution time increases, simplify the flow. Automation should shorten, not extend, the path to resolution.
What to check:
-
Are urgent chats stuck in automation?
-
Is the bot misclassifying issues?
-
Is abandonment higher during bot interaction?
Step 6: Create the agent dashboard
The dashboard controls visibility and coordination. Agents should see everything needed in one place.
What to do:
-
Display active chat count per agent.
-
Show full conversation history and customer profile.
-
Require wrap-up notes before transfer or closure.
-
Provide structured quick replies for consistency.
Operational guidance:
If agents switch between systems to gather context, resolution time increases. Consolidate information in a single workspace.
What to check:
-
Are agents missing previous conversation context?
-
Are wrap-up notes consistently completed?
-
Is documentation clear during transfers?
Step 7: Set transfer steps
Transfers should be controlled and documented. Unstructured handoffs increase customer frustration.
What to do:
-
Require a summary note before every warm transfer.
-
Limit transfers to one reassignment when possible.
-
Define when cold transfers are allowed.
-
Track transfer frequency weekly.
Operational guidance:
If resolution time increases after transfers, documentation standards are insufficient.
What to check:
-
Are customers repeating information after handoff?
-
Are transfers used to offload difficult conversations?
-
Is escalation happening too early or too late?
Step 8: Connect to CRM and calendar
Live chat without CRM integration creates fragmented customer history. A properly integrated system enables CRM-driven support continuity so agents access unified customer record history during repeat interactions. Multi-agent systems require shared context to avoid repeated explanations.
What to do:
-
Automatically sync chat transcripts to customer records.
-
Attach tags based on inquiry type.
-
Merge repeat visitors into existing profiles.
-
Enable agents to schedule calls directly from chat.
Operational guidance:
Manual copy-pasting into CRM leads to incomplete records and missed follow-ups. Integration should be automatic and immediate.
What to check:
-
Are repeat customers recognized instantly?
-
Are follow-ups logged without manual entry?
-
Are duplicate customer profiles being created?
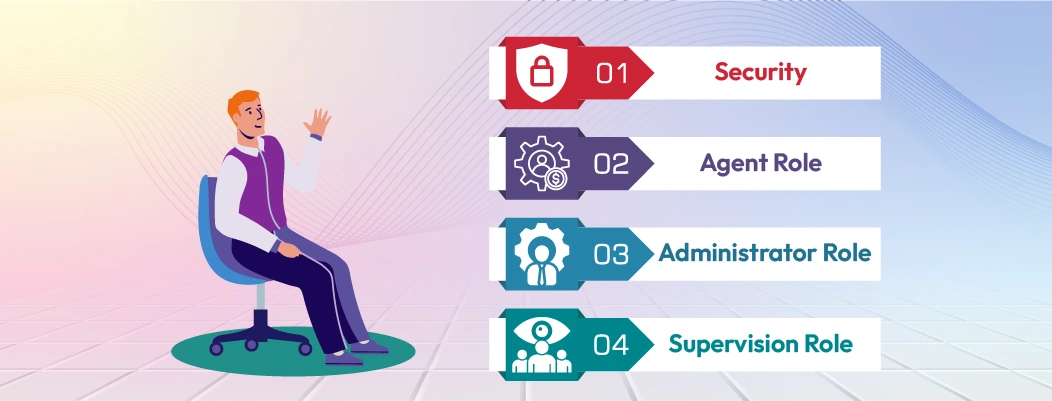
Step 9: Protect customer data
More agents mean broader access exposure. Access control must scale with team size.
What to do:
-
Define permission levels for agents, supervisors, and admins.
-
Restrict transcript exports.
-
Mask sensitive information where possible.
-
Enable two-factor authentication for staff accounts.
Operational guidance:
Review role permissions quarterly. Access creep happens over time and increases compliance risk.
What to check:
-
Can junior agents view restricted data?
-
Are export actions logged?
-
Is sensitive information visible when it should not be?
Step 10: Add alerts and reports
Monitoring prevents silent performance decline. Metrics must trigger action, not just reporting.
What to do:
-
Track First Response Time, Resolution Time, Abandonment Rate, and Agent Utilization. These metrics align with structured KPI frameworks for chat ops that help teams monitor operational efficiency and identify performance gaps early.
-
Set queue length alerts.
-
Set response delay thresholds (for example, beyond 60–90 seconds).
-
Review workload distribution daily during peak periods.
Operational guidance:
If agent utilization consistently exceeds 80-85%, burnout risk increases and quality declines.
What to check:
-
Are certain hours consistently overloaded?
-
Are alerts triggering early enough?
-
Is workload evenly distributed across agents?
Step 11: Test with a small team
Systems often fail under load, not during setup. Controlled testing reveals weaknesses.
What to do:
-
Simulate peak traffic internally.
-
Test routing edge cases.
-
Test automation handoff timing.
-
Test reassignment rules when agents go idle.
Operational guidance:
If routing or transfer confusion appears during testing, refine rules before public launch.
What to check:
-
Do chats remain unassigned under pressure?
-
Are escalation triggers working correctly?
-
Is response time stable during simulation?
Step 12: Train agents and write rules
Consistency across agents determines system reliability.
What to do:
-
Document transfer standards.
-
Define note-taking format.
-
Set concurrency discipline guidelines.
-
Clarify escalation triggers.
Operational guidance:
Inconsistent internal notes increase resolution time and reduce coordination.
What to check:
-
Are replies consistent in tone and accuracy?
-
Are agents following concurrency limits?
-
Are escalations documented clearly?
Step 13: Launch and watch metrics
Launch gradually if possible. Early monitoring prevents structural failure.
What to do:
-
Monitor daily metrics during the first two weeks.
-
Adjust concurrency limits if quality declines.
-
Rebalance team assignments if queues concentrate.
Operational guidance:
Do not increase exposure until response time stabilizes.
What to check:
-
Is customer satisfaction stable under live traffic?
-
Are resolution times increasing unexpectedly?
-
Is one department becoming a bottleneck?
Step 14: Iterate and improve
A multi-agent system requires continuous adjustment. Static workflows degrade over time.
What to do:
-
Review weekly performance trends.
-
Adjust routing if transfer rates rise.
-
Lower chat limits if quality drops.
-
Update automation prompts if misclassification occurs.
Operational guidance:
Improvements should follow measurable patterns, not assumptions.
What to check:
-
Are recurring bottlenecks forming?
-
Are certain categories causing longer resolution times?
-
Is automation reducing workload or creating friction?


Leave a Comment
Your email address will not be published. Required fields are marked *
By submitting, you agree to receive helpful messages from Chatboq about your request. We do not sell data.